Step 1: Authorize the Expert/Clinic to access your health information
1-1 Verify the correct Expert/Clinic and grant authorization
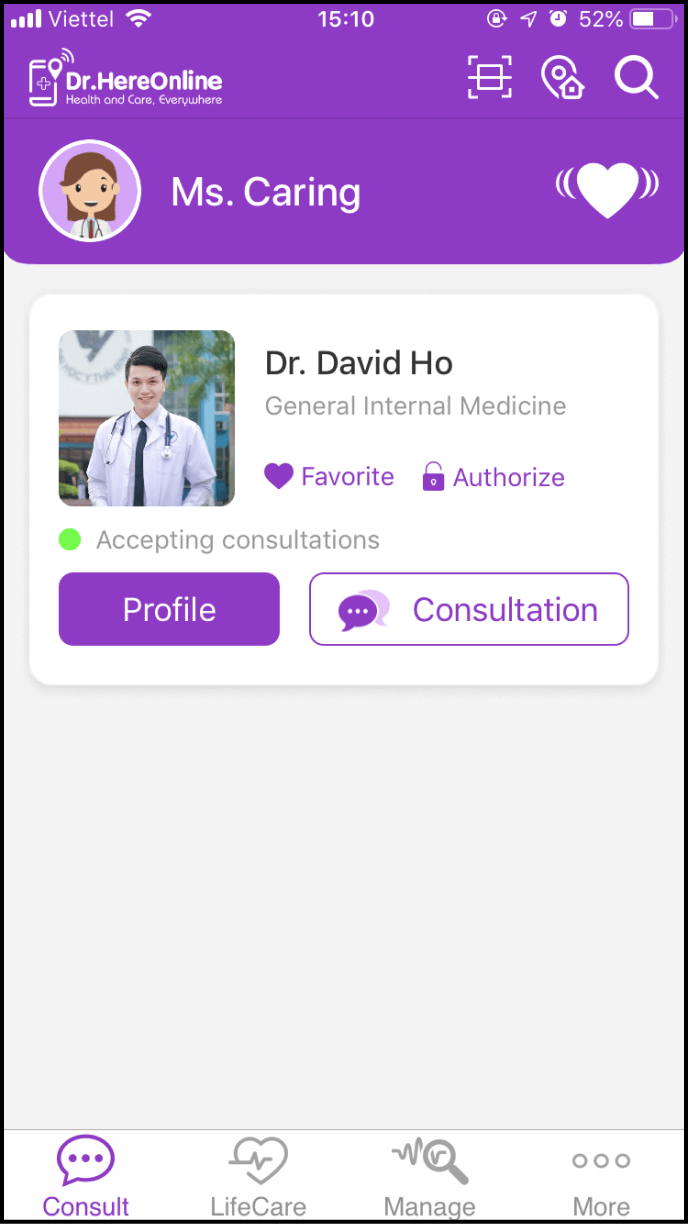
Log in to the app's home screen and locate the Expert/Clinic in your contact list. Click on the avatar or the name of the Expert/Clinic whom you wish to grant access to your health information.
Note: If the Expert/Clinic is not in your contact list, please refer to - How do I find an expert or a clinic to schedule a consultation?
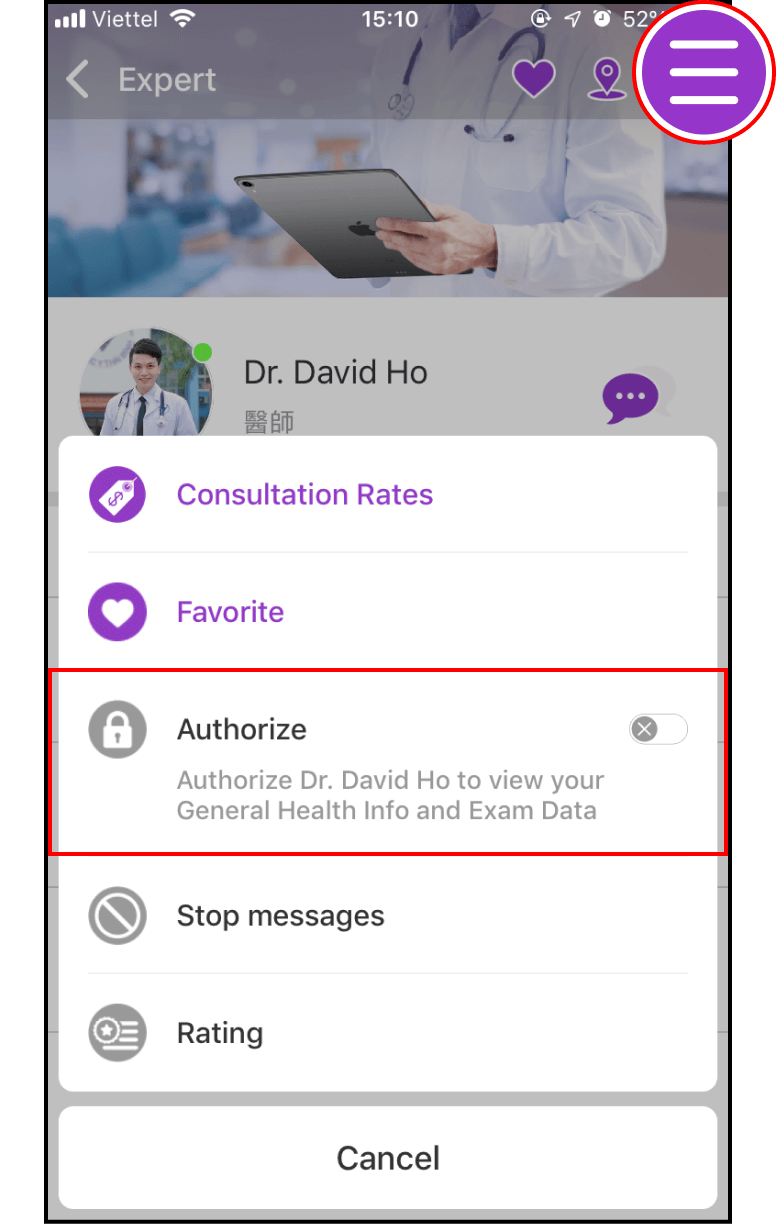
1-2 Grant the Expert/Clinic access to your general health information and exam data
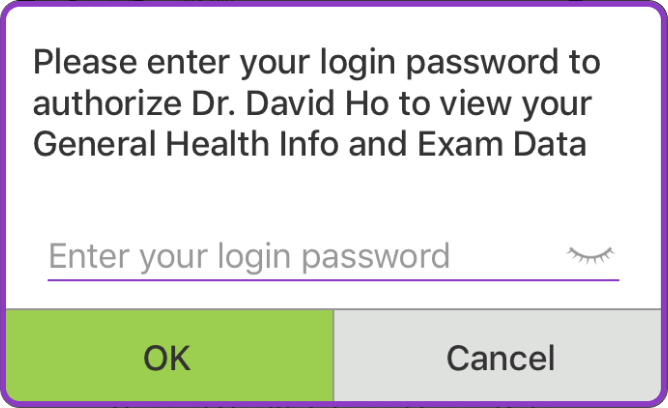
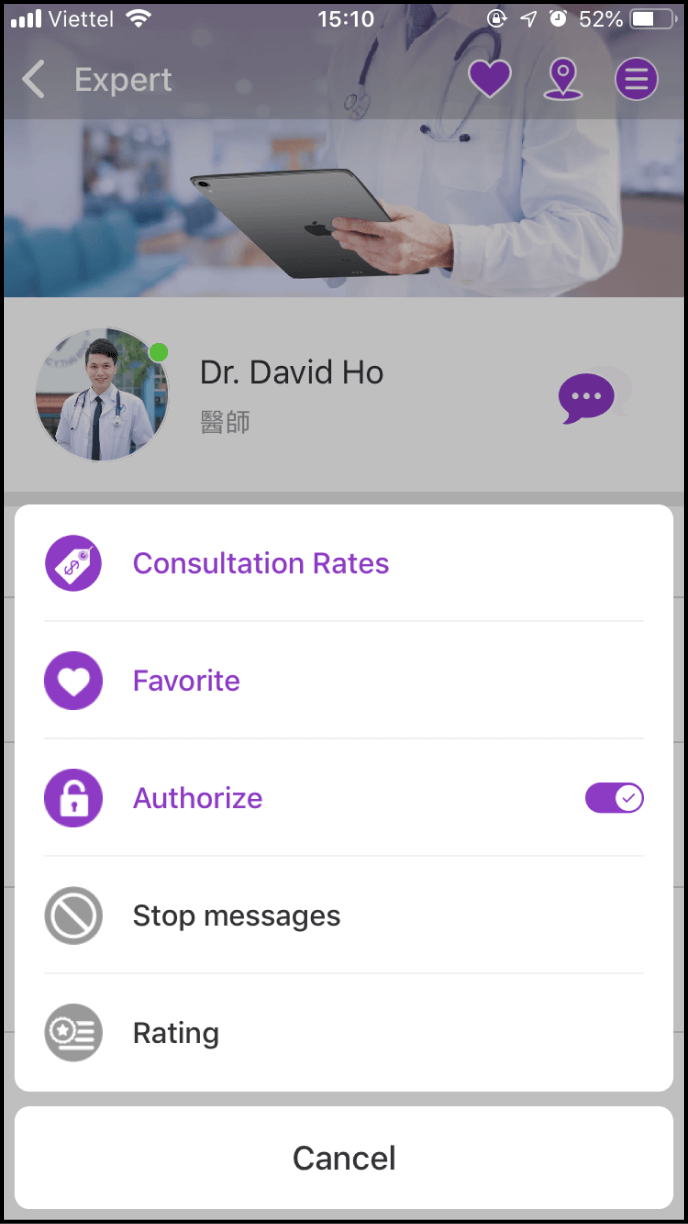
Click the Menu icon in the top-right corner and select the third option - Authorize. Then, enter your password and click OK to confirm the authorization.
Note: The password is the same as your login password.
1-3 Complete the authorization process
If the Authorize button turns purple, you have successfully granted the Expert/Clinic access to your general health information and exam data.

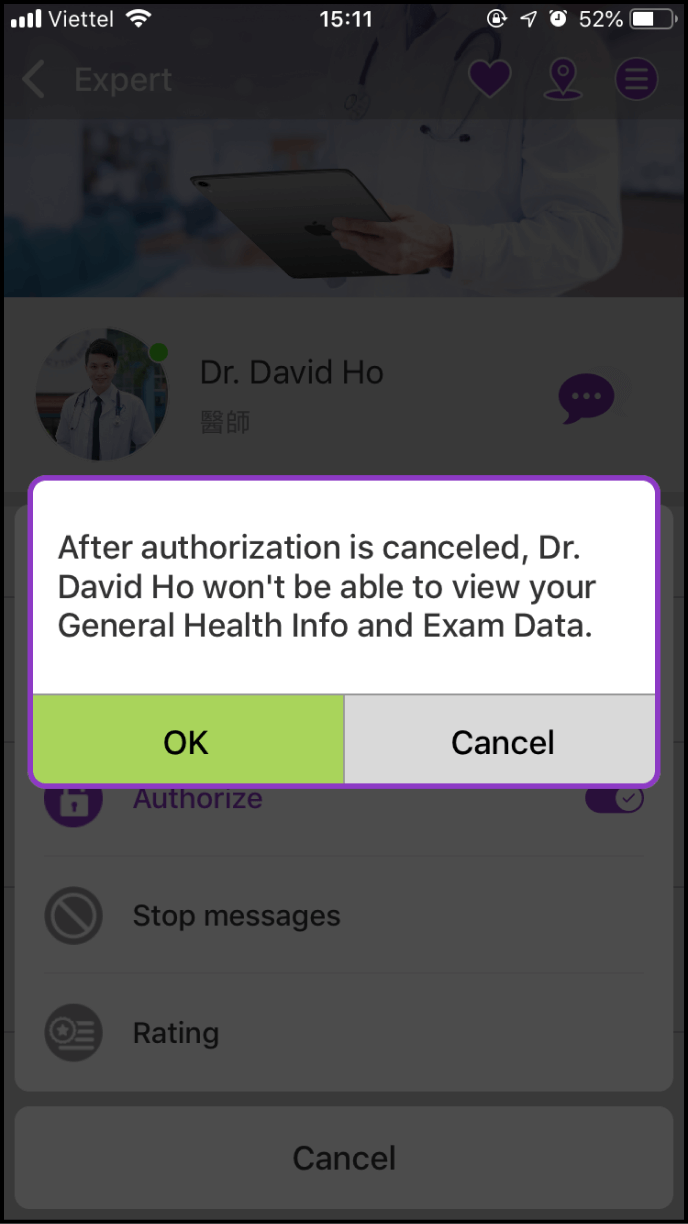
Step 2: Revoke authorization
Access the profile page of the Expert/Clinic for whom you wish to cancel authorization, and click the Menu icon in the top right corner. Select the third option - Authorize, and click OK when the next window appears.
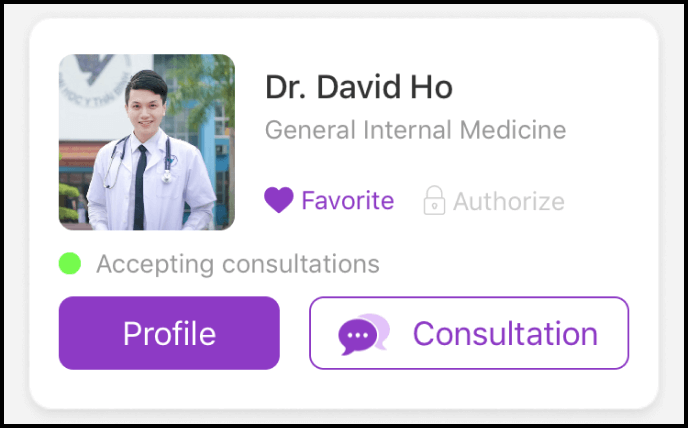
When the Authorize button changes from purple to black, you have successfully revoked authorization, and this Expert/Clinic will no longer have access to your general health information and exam data.